Tile on tile
The installation method for renovation and refurbishment
With old tiled floors, the effort to lay a new one was immense, very dirty. loud and time consuming. Every single tile had to be chiseled and disposed of. The substrate had to be smoothed and cleaned. Only then could the new tiles be laid. This procedure took a very long time, caused failures in business operations, annoyed the neighbours and was also very price-intensive.
With the new porcelain stoneware tiles, this antiquated process is a thing of the past. The new floor can easily be laid directly on top of the old tile covering. All particularly time-consuming and costly work steps are simply omitted. This minimises downtimes and the new floor is laid in no time at all.
When laying tiles on tiles, however, the old tiling must at least still be load-bearing and must not have any cavities. If this is the case, the very low-noise, clean and fast tile-on-tile laying can begin.
You need:
- The new porcelain stoneware tiles
- Two-component high-performance fast adhesive
- tile cutter
- tile adhesive resin
- gloves
- Attention: Please use the two-component adhesive only with gloves!
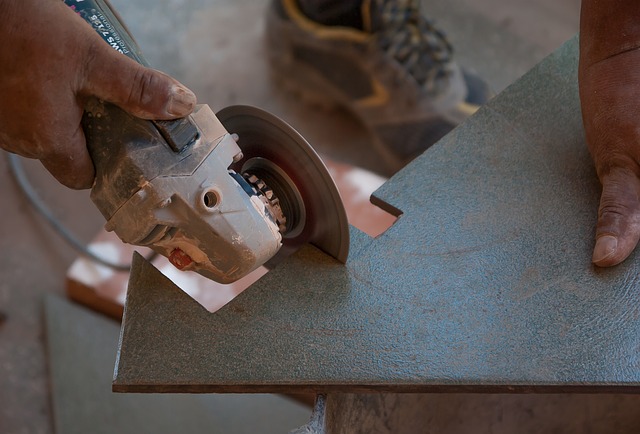
Before you start laying tiles on tiles, you must first cut open the old tiles, if they have cracks that are continuous, and resinify them with adhesive resin and allow them to dry completely. Sand off any excess resin.
This is the procedure for further laying:
- The old floor covering is thoroughly cleaned.
- Apply two components
- Laying new tiles
Note: Adhesive bridges are not required for two-component high speed adhesives in conjunction with porcelain stoneware floors.


