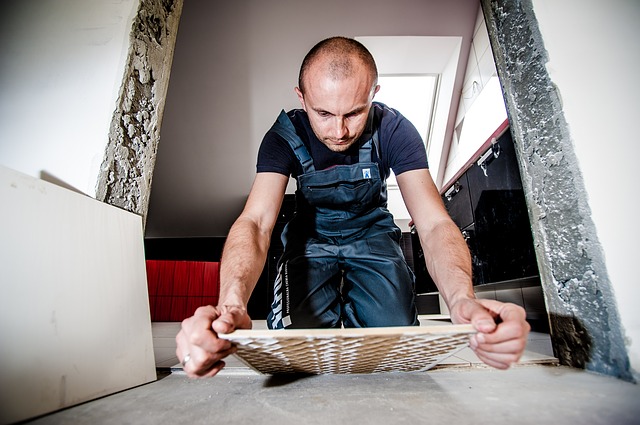
Conventional tile laying
Thick-bed mortar and thin-bed mortar laying
The classic thick-bed laying is possible very precisely and is therefore still the most frequently used, even though methods such as tile-on-tile with existing tiled floors and the ultra-modern vibration method are increasingly replacing this laying method. In conventional tile laying, the new tiles are used directly in a thick-bed mortar process, a thick mortar bed. In new buildings where there is no plaster or screed yet, this method also makes sense. If there is already plaster or screed, the faster method can be used with thin-bed mortar. However, it must first be ensured that the substrate is level, otherwise the thin-bed mortar method cannot be used. If this is not the case, smooth out any unevenness with a self-levelling floor levelling compound, smooth it off with a rubber wiper and let it dry well.
You will need it for this:
- Waterproof mortar for indoor laying
- Water permeable laying mortar for outdoor areas
- grout
- cement powder
- A ladle
- A damp sponge
- A rubber mallet
- a chisel
- levelling compound
- A rubber slider
- New tiles
Of course we recommend laying by professionals, but if you want to do it yourself, there are very good Youtube tutorials for laying porcelain stoneware tiles. This is how you proceed roughly:
- If necessary: chisel out old tiles and clean the base
- Stir in mortar, apply and peel off
- Powder with cement shortly before installation
- Laying tiles (preferably from the inside out)
- Lightly tap tiles with rubber hammer
- Wait until the tiles can be walked on
- Sponge in joint mortar with rubber wiper
- As soon as the mortar is firm enough, roughly clean the tiles.
- When everything is dry remove residual contamination


